 In addition, two 2 day workshops and the remainder of the Tuesday project class has been cancelled/postponed at the Holt, in Hampshire. On top of that there is also teaching committments for other organisations in England and Ireland which we may have to consider postponing, as according to the PM's announcement this afternoon, I should stay at home and apart from others for 12 weeks.
These circumstances that we are in are the biggest challenge I have faced as a self-employed artist and tutor, living with a chronic health condition too. Yes, some of the artwork I produce is for leisure, but it is how I also earn my living. Most of my teaching is 'in-person' as I feel it provides such a fulfilling and positive experience for student and teacher. Nothing beats being able to turn round and ask your tutor a question and working together to solve a challenge.
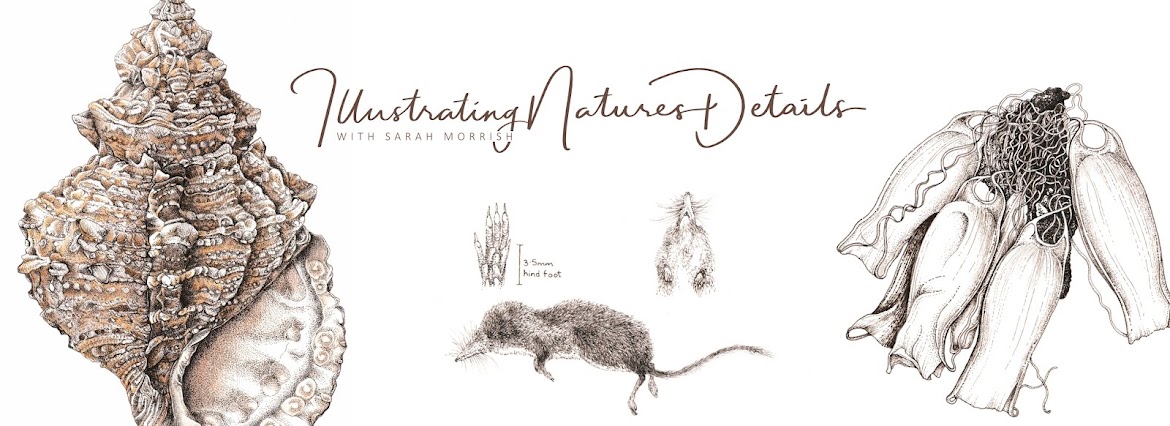
This year I had decided to take a year off from providing online tuition. I am still writing my book, but I also wanted to review how I provide learning experiences online. I wanted to provide an insight and techniques in using a range of media in the genres of botanical and natural history art, as well as my life as a working artist, but how to do this?
I had an online platform in mind and had done a lot of research, and also sought the advice of another artist who used it. The more I discovered, the more I liked it and so the last few weeks have been a whirlwind of activity in the studio getting ready to launch on the 1st April. I never expected to be picking up the reigns of online tuition again this year, but the present circumstances have been a major factor.
I will reveal more in the next week or so, but rest assured it will provide learning experiences to suit all budgets and skill levels.

Keep a look out from the 1st April for the new online learning banner.

One of the filming set ups in my studio - note the cool bag with a tin of baked beans in it being used as a weight on the boom arm !
The workshops at the Holt, have been postponed until later in the year, but I felt that I still wanted to be able to provide something for those that were due to attend the workshops. There will be an awful lot of us self-isolating/social distancing and having something creative to occupy us will be one way to sustain our mental well-being. Of course, it will keep us connected to the natural world too!
So in addition, to setting up the new online tuition, I will be creating complimentary tutorial videos for those that were due to attend the Walnut Tree in Spring workshop, as well as the Tuesday project class and also providing personal individual feedback for work in progress for the latter.
If you are not part of a class but still want to have a go at sketching at home, I have put together some Sketchbook kits, which will soon be available in my Etsy Shop. These include an A5 sketchbook, x3 fineline pens in black in (sizes 003, 005 and 01) and also a double-sided laminated card explaining tonal values and mark-making options for drawing in pen and ink. Look out for further details soon.


Lastly, I want to reach out and say a huge thank you to everybody that has been supporting me in so many ways over the last week or so and it is great to see so much positivity when people come together to support small businesses to help protect livelihoods.
Stay well, and happy drawing and painting !


